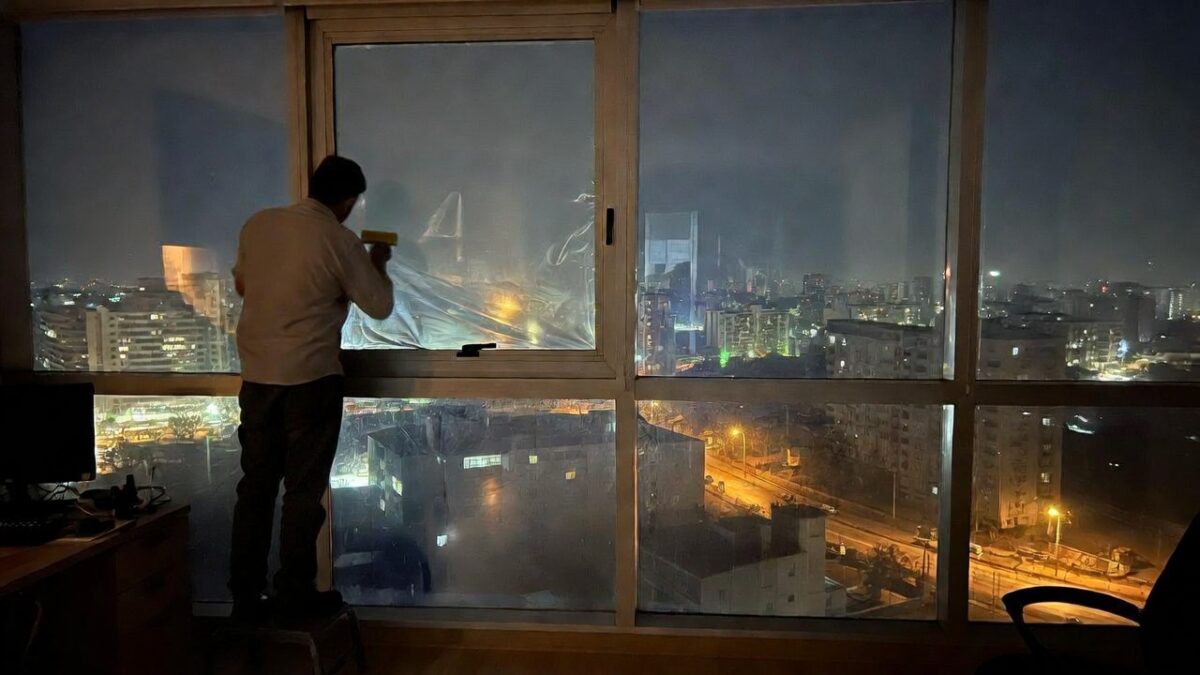
When it comes to enhancing the aesthetics and energy efficiency of your home, window films are an excellent choice. Whether you’re aiming to reduce glare, increase privacy, or improve energy efficiency, window films can be a cost-effective solution that complements your interior design. However, to ensure a perfect fit, accurate measurements are crucial.
In this beginner’s guide, we’ll walk you through the process of measuring your windows for film installation, providing you with the knowledge you need to achieve professional results in your DIY project.
Before we dive into the measuring process, let’s briefly explore why window films are gaining popularity among homeowners and interior designers alike.
Window films come in a variety of styles, from frosted and tinted to decorative patterns, allowing you to customize your space according to your aesthetic preferences. They can add a touch of elegance or a modern edge to any room.
By reducing heat gain in the summer and heat loss in the winter, window films can significantly lower your energy bills. This eco-friendly solution also reduces your carbon footprint, making it an excellent choice for environmentally conscious homeowners.
Window films can enhance your privacy by preventing outsiders from peering into your home. Additionally, certain films are designed to strengthen glass, offering added protection against break-ins and accidents.

Tools You’ll Need for Measuring
Accurate measurements are the foundation of a successful window film installation. Here’s a list of tools you’ll need to get started:
- Measuring tape
- Pencil and paper
- Step stool or ladder (for high windows)
- Level (optional, for checking window alignment)
Step-by-Step Guide to Measuring Your Windows
Step 1: Gather Your Tools
Before you begin, ensure you have all the necessary tools at hand. Having everything ready will make the measuring process smooth and efficient.
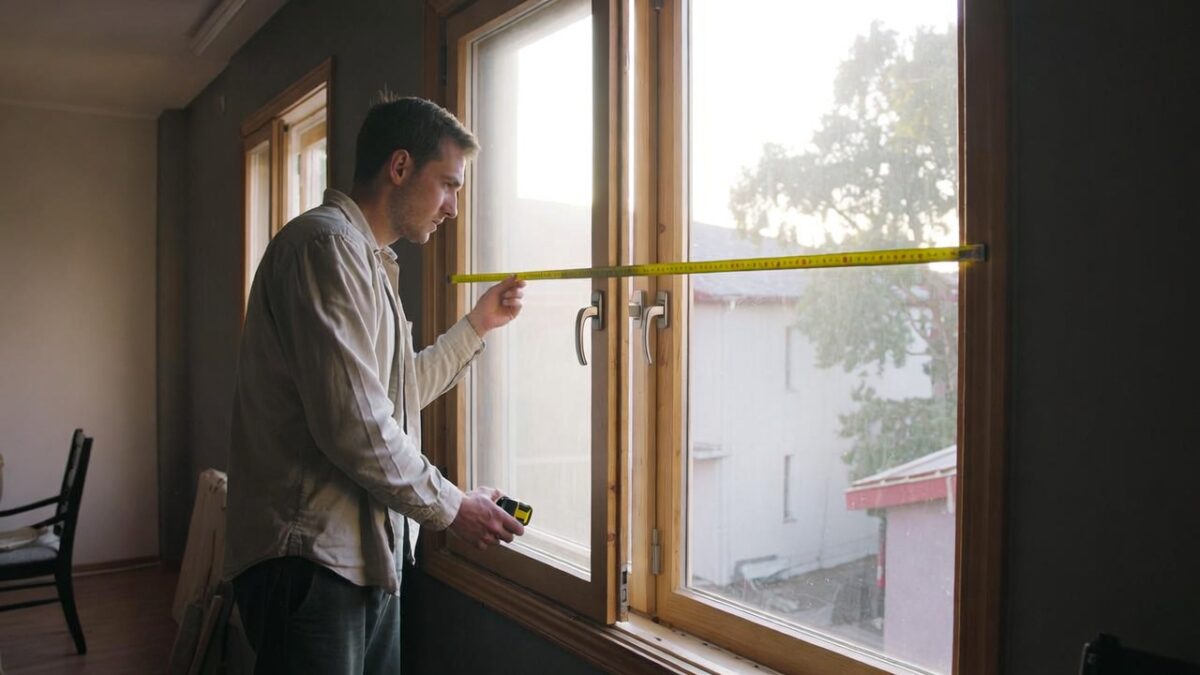
Step 2: Measure the Width
Start by measuring the width of the window. Use your measuring tape to measure from one edge of the glass to the other, excluding any window frames or trims. For the most accurate results, take measurements at the top, middle, and bottom of the window, as windows may not always be perfectly square. Record the smallest measurement.
Step 3: Measure the Height
Next, measure the height of the window. Again, measure from the top edge of the glass to the bottom, excluding frames. Take measurements on both the left and right sides of the window, and record the shortest measurement.
Step 4: Check for Squareness
To ensure your window is square, measure diagonally from one corner to the opposite corner on both sides. If the measurements are equal, your window is square. If not, note the difference, as this may require slight adjustments during the film installation.

Step 5: Calculate Additional Film
When ordering window film, it’s wise to add an extra inch to both the width and height measurements. This allows for slight adjustments during installation and ensures complete coverage.
Step 6: Double-Check Your Measurements
Double-check your measurements to avoid any errors. It’s always better to measure twice and cut once.
Tips for a Successful Installation
Clean the Window Thoroughly
Before applying the film, ensure your windows are spotless. Any dirt or debris can cause bubbles and uneven adhesion, compromising the appearance and effectiveness of the film.
Follow the Manufacturer’s Instructions
Different window films may have specific installation guidelines. Always refer to the manufacturer’s instructions to achieve the best results.
Use a Squeegee
A squeegee is an essential tool for smoothing out the film and removing air bubbles. Start from the center and work your way outwards to achieve a smooth finish.
Work in a Controlled Environment
Avoid installing window film in extreme temperatures or direct sunlight, as this can affect the adhesive properties of the film. Choose a cool, shaded area for installation.
Common Mistakes to Avoid
Rushing the Process
Take your time when measuring and installing window film. Rushing can lead to mistakes and unsatisfactory results.
Ignoring Window Frames
While measuring, it’s crucial to exclude window frames and trims. Including them can result in ordering too much film.
Skipping the Cleaning Step
Skipping the cleaning step can lead to a poor finish. Ensure your windows are thoroughly cleaned before installation.

by ihor (https://unsplash.com/@ishlpnk)
Conclusion
Measuring for window films may seem daunting at first, but with the right tools and techniques, it’s a manageable DIY project. By following this guide, you’ll be well on your way to transforming your windows with style and efficiency. Whether you’re looking to enhance your home’s aesthetics, improve energy efficiency, or increase privacy, window films offer a versatile solution that aligns with your design goals.
By investing in window films, you’re not only enhancing your living space but also contributing to a more sustainable future. Happy measuring, and may your window film installation be a resounding success!

 Window film prices can range from as low as $2 per square foot for basic films to upwards of $12 per square foot for high-end options. Here’s a closer look at what you can expect:
 by Shigeko Fukaya (https://unsplash.com/@shige_jane)