When it comes to home improvement, window films can be a game-changer. They offer privacy, reduce glare, and even help with energy efficiency. However, over time, these films can degrade or become outdated, prompting the need for removal. Removing old window films might seem daunting, but with the right guidance, it can be a straightforward task. In this guide, we’ll walk you through the process of safely removing old window films, ensuring you maintain the integrity of your windows while preparing them for a fresh look.

Removing old window films is essential for several reasons. Over time, films can bubble, peel, or discolor, detracting from your home’s appearance. Moreover, outdated films might not provide the energy efficiency or UV protection that new films offer. By removing them, you pave the way for a modern upgrade that can enhance your living space.
Benefits of Removing Old Films
- Enhanced Aesthetics: Fresh windows improve the overall look of your home.
- Improved Energy Efficiency: New films provide better insulation and UV protection.
- Increased Property Value: Updated windows can boost your home’s market appeal.
Tools and Materials Needed
Before diving into the removal process, gather the necessary tools and materials to ensure a smooth experience.
Essential Tools
- Utility Knife or Razor Blade: For cutting and peeling the film.
- Spray Bottle: Filled with a mixture of soap and water.
- Plastic Scraper: To gently remove adhesive residue.
- Paper Towels or Microfiber Cloth: For cleaning the glass surface.
Optional Tools
- Hair Dryer or Heat Gun: Helps loosen stubborn adhesive.
- Steamer: Useful for larger windows or stubborn films.
Step-by-Step Guide to Removing Window Films

Step 1: Prepare the Area
Begin by preparing your workspace. Ensure the area around the window is clear of any obstacles or valuables that might be affected during the process. Lay down a drop cloth or towel to catch any debris.
Step 2: Loosen the Film
Fill a spray bottle with a mixture of warm water and a few drops of dish soap. Liberally spray this solution onto the window film. The goal is to soak the film, making it easier to peel off. Allow the solution to sit for about 10-15 minutes.
Step 3: Start Peeling the Film
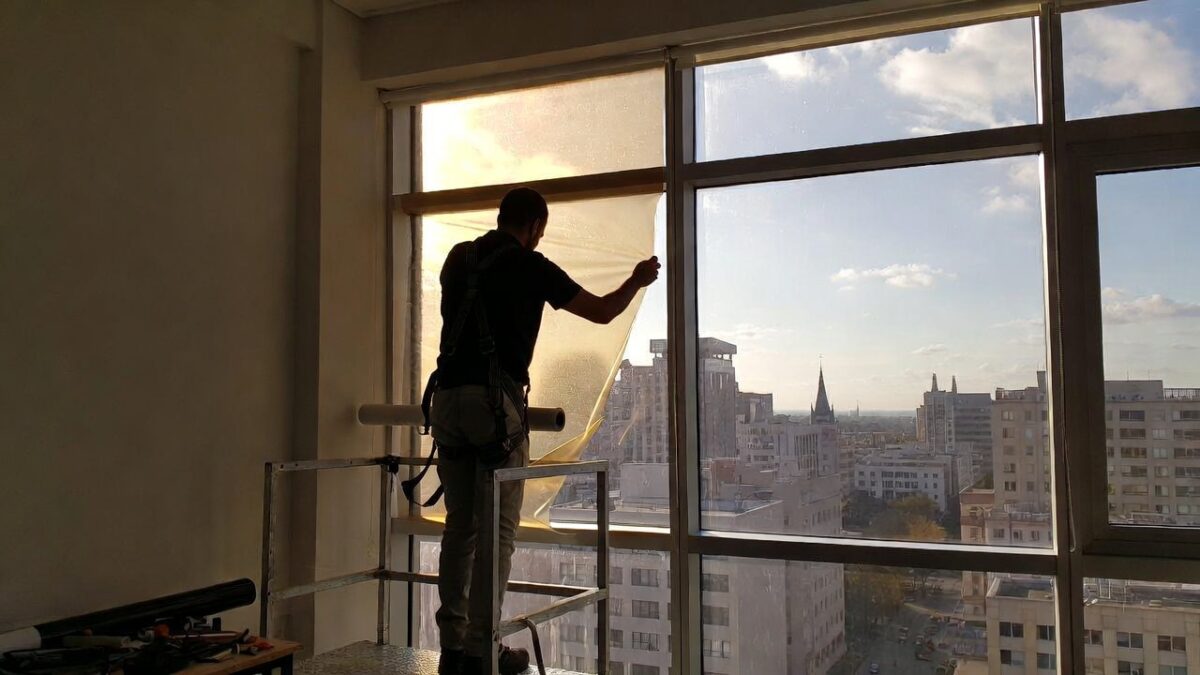
Using a utility knife or razor blade, carefully lift a corner of the film. Once you have a good grip, slowly peel the film away from the window. If the film resists, use a hair dryer or heat gun to warm the film, which can help loosen the adhesive.
Step 4: Remove Adhesive Residue
After the film is removed, you’ll likely notice some adhesive residue left on the glass. Use the soapy water solution and a plastic scraper to gently remove this residue. For stubborn spots, apply a bit more pressure or use a commercial adhesive remover.
Step 5: Clean the Glass
Once all the film and adhesive are removed, clean the glass with a microfiber cloth and a glass cleaner to ensure it’s free of any streaks or residue. This will prepare the surface for any new film application if desired.
Safety Tips

by Declan Sun (https://unsplash.com/@declansun)
When removing window films, safety should be a priority. Here are some tips to keep in mind:
- Wear Gloves: Protect your hands from cuts or irritation from adhesive removers.
- Use Caution with Sharp Tools: Always handle utility knives and razor blades with care.
- Ensure Proper Ventilation: If using chemical adhesive removers, ensure the area is well-ventilated.
When to Call a Professional
While DIY removal is feasible for most, there are situations where professional assistance is advisable. If you’re dealing with large commercial windows, high-rise buildings, or stubborn films that won’t budge, contacting a professional can save time and ensure the job is done safely and efficiently.
Preparing for New Window Films
Once the old films are removed, it’s the perfect time to consider new installations. Modern window films offer improved UV protection, energy efficiency, and aesthetic options. Here’s what to consider:
Choosing the Right Film
- Reflective Films: Great for privacy and heat reduction.
- Frosted Films: Ideal for bathrooms or areas requiring privacy.
- Decorative Films: Add a stylish touch to any room.
Installation Tips
- Ensure the glass is perfectly clean before application.
- Follow the manufacturer’s instructions for the best results.
- Consider hiring a professional for large or complex installations.
Conclusion
Removing old window films doesn’t have to be a daunting task. With the right tools, techniques, and safety measures, you can effectively update your windows, enhancing both the functionality and appearance of your home. Whether you’re an interior designer looking to provide clients with modern solutions or a homeowner seeking a DIY project, this guide offers the insights you need to tackle old window films confidently.
By embracing new window film technologies, you’ll not only improve your home’s energy efficiency but also its overall aesthetic, adding value and comfort to your living space. So, roll up your sleeves, gather your tools, and transform your windows today!“`