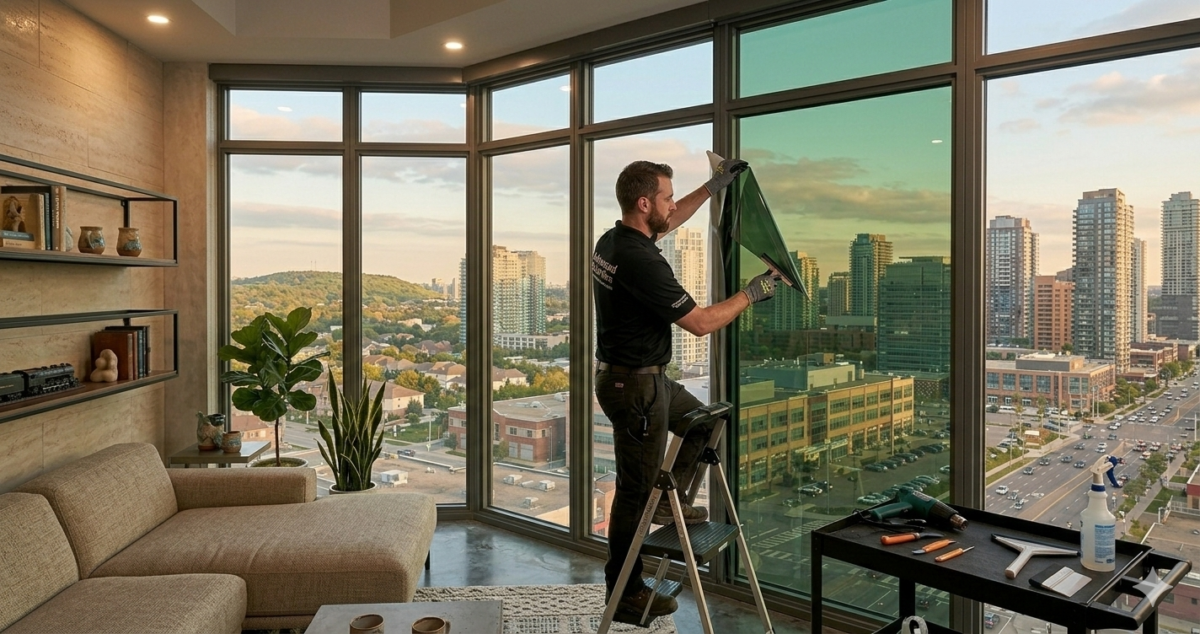
Applying window film to your windows is a cost-effective way to enhance privacy, reduce glare, and improve energy efficiency in your home. Whether you are an interior designer looking to offer eco-friendly solutions to your clients or a homeowner seeking to upgrade your living space, understanding the tools and techniques involved in DIY window tinting can be incredibly beneficial.
In this article, we will explore everything you need to know about applying window film yourself, from the essential tools to the step-by-step installation process. By the end of this guide, you’ll be well-prepared to tackle this home improvement project with confidence and precision.

Before we dive into the how-to, let’s discuss why applying window film yourself is a great option. DIY window tinting provides several benefits:
- Cost Savings: Hiring professionals can be expensive, but doing it yourself can save you a significant amount of money.
- Customization: You have the freedom to choose the exact tint level and design that suits your needs and preferences.
- Satisfaction: Completing a DIY project can be rewarding and gives you a sense of accomplishment.
Essential Tools for Window Film Installation
To achieve the best results, you’ll need a few key tools. Having the right equipment will make the process smoother and ensure a professional-looking finish.
List of Tools
- Window Film: Choose a film that meets your needs—whether it’s for privacy, UV protection, or decorative purposes.
- Utility Knife: A sharp utility knife is crucial for trimming the film to fit your window perfectly.
- Squeegee: This helps remove air bubbles and ensures the film adheres smoothly to the glass.
- Spray Bottle: Fill it with a mixture of water and a few drops of dish soap to make an application solution.
- Lint-Free Cloth: For cleaning the windows before applying the film.
- Tape Measure: To accurately measure your windows and cut the film to size.
- Straight Edge/Ruler: Useful for guiding your cuts and ensuring straight lines.
- Heat Gun or Hair Dryer: Optional, but can help the film conform to the window shape, especially on curved or irregular windows.

Preparing Your Windows
Preparation is key to a successful window film installation. Follow these steps to ensure your windows are ready for the film:
Cleaning the Windows
- Remove Dust and Dirt: Use a lint-free cloth and the soapy water solution to thoroughly clean the window surface. Make sure no residue or dirt remains, as this can affect the film’s adhesion.
- Dry the Surface: Wipe the window dry with a clean, dry cloth. Ensure there are no streaks or water spots.
Measuring and Cutting the Film
- Measure Accurately: Use a tape measure to determine the dimensions of the window. Add an extra inch to each side to allow for trimming.
- Cut the Film: Lay the film on a flat surface and use the straight edge and utility knife to cut it to size. Ensure your cuts are straight and precise.
Applying the Window Film
With the preparation complete, you’re ready to apply the window film. Follow these step-by-step instructions for a successful installation:
Step-by-Step Installation
- Spray the Window: Generously spray the window with the soapy water solution. This will help the film slide into place and prevent it from sticking prematurely.
- Peel the Film: Carefully peel the backing from the window film, exposing the adhesive side. Be cautious not to let the film fold or stick to itself.
- Position the Film: Align the film with the top edge of the window, allowing the excess to hang over the edges. Gently press it onto the glass.
- Smooth the Film: Use the squeegee to smooth the film from the center outward, pushing out any air bubbles and excess solution. Work slowly and methodically for the best results.
- Trim the Edges: Use the utility knife to trim the excess film from the edges of the window. Use the straight edge to guide your cuts for a clean finish.
- Final Squeegee: Go over the entire surface with the squeegee once more to ensure all bubbles are removed and the film is firmly attached.
Troubleshooting Common Issues
- Air Bubbles: If bubbles persist, use the squeegee to gently push them towards the edges.
- Film Not Sticking: Make sure the window is wet enough with the solution. If necessary, peel back the film and reapply more solution.
Maintaining Your Window Film

by Yudhayana Enza (https://unsplash.com/@indo_people)
Once your window film is applied, proper maintenance will ensure its longevity and performance.
- Avoid Harsh Cleaners: Use a mild cleaning solution and a soft cloth to clean the windows. Avoid abrasive materials that could scratch the film.
- Be Gentle: Take care when opening and closing windows to avoid damaging the edges of the film.
Conclusion
DIY window film installation is an accessible project that can significantly enhance the functionality and aesthetics of your home. By following the outlined tools and techniques, you can achieve professional results without the professional price tag. Not only will this project provide immediate benefits in terms of privacy and energy efficiency, but it will also add a personalized touch to your living space.
Whether you’re an interior designer looking to offer new solutions to clients or a homeowner keen on tackling a home improvement project, applying window film yourself is a rewarding and practical endeavor. Embrace this opportunity to transform your windows and enjoy the numerous benefits that window tinting provides.